Our Valentines.

Whew life has been a whirlwind lately!

I just went and made myself a nice little batching schedule with reminders of when it’s time to switch tasks and color coded everything and dang it, I’ve got another week of this kind of schedule and all of that’s out the window. Not that I was doing all that hot with keeping up with the blog this week anyway. I’ve been reading TONS of other blogs and how they keep up with a busy life and multiple jobs and it seems that there is a trend.. we’re all the type to dabble in many things and not be happy with a regular 9-5 job. I covet those hours and I’m jealous of others who can lay out their schedule and clock out physically and mentally at 5 but that’s really not me, never has been and probably never will be. On this chilly, but sunny & beautiful Friday I’ve had several epiphanies. I’ve decided that I have to pursue a creative/personal career choice. A stable/predictable job is not going to do it for me. That might be easier, but less fulfilling. So while I’ve been afraid to fully put myself in a place where I can pursue something that will fill my SOUL with joy because of the instability, I think over the last year – two years, I’ve finally learned what it takes to make life work with what you’ve got and how to enjoy the simple pleasures in life. And I’m excited to take the next steps. Long term goal: be financially free and able to pursue a business that allows me to be creative, challenges me to do more and be more. Short term goal: pay off credit cards.

So, all that rambling aside- a week from now I’ll be gearing up for 65 hour weeks for the next short while. If I can keep up for a month or two or three (maybe) I can pay off all credit cards and maybe my car (almost a year early) EEK!!! It’s not going to be easy, I’ll probably hate my life every morning but ya do what you have to do to get where you want to be. So I will more than likely be only posting twice a week and not expecting myself to keep up with a 4-5 post schedule while trying to work those 2 jobs and work my Mary Kay business. Just FYI.

Tangent and upcoming future aside – VALENTINE’S DAY.

This year I wasn’t upset that Josh and I didn’t spend it together. I wasn’t upset that we both worked. I know that I get more excited about holidays and festivities than he does so I did my thing and I put some creative energy into his gift and woke up to a super cute little display of his gift for me. It’s more about showing the love every day anyway, isn’t it?

It started on February 13th.

IMG_20130213_154403 FxCam_1360850753660I saw this heart banner idea and thought it was the cutest thing ever. I might just leave it up another week because it makes me happy when I walk into my living room. They’re also very cute on a smaller scale, on the fridge, on a mirror, etc.

I was very in the DIY mood this Valentine’s Day after seeing how cute my heart banner turned out. I browsed Pinterest and my bloglovin feed (tons of great Valentine’s ideas this whole week) and I came across a card similar to the one I made with candles and a cute little saying about fire. I adapted it a smidge and chose to use stamps instead of hand writing it on the card stock.

IMG_20130214_121503

I had the card stock, the raffia, the stamps and ink. All I had to do for this was buy some candles. I didn’t really like the idea of a super plain front to the card so I found a cute little heart border and printed it out and then wrote my love note on the back. Maybe I’m too proud of this, but I couldn’t get over how cute it turned out. Besides I always stand in the card aisle for an hour reading every card it seems like til I can find the right one. This was way better.

Everybody in our house got some Valentine’s Day love.

IMG_20130214_113930

Top left: My Valentine’s Day gift. He got me a tulip plant. I’m waaay more excited about it then regular flowers because these won’t die in a week and I’ve been wanting plants to put on the porch (this one’s staying inside I think) and around the house. Plus a pedicure gift certificate & chocolate covered pretzels, WIN. 🙂

Top right: His gift and some heart-shaped sweets

Bottom right: My heart banner over the fire place

Bottom left: Sweet treats for my 2 little four-legged Valentines

I went to an antique shop last weekend and found the cutest little heart-shaped ice cube trays for 75 cents. I’d been looking for shaped ice cube trays recently because I wanted to try making some treats for my pups to freeze. I made my own concoction earlier this week and let them freeze a few days. They LOVED them.

FxCam_1360526185750

Berry Heart Pops

Easy, make at home all natural treats for the four-legged family member(s) in your home.

Easy, make at home all natural treats for the four-legged family member(s) in your home.

Ingredients

FxCam_1360526774203

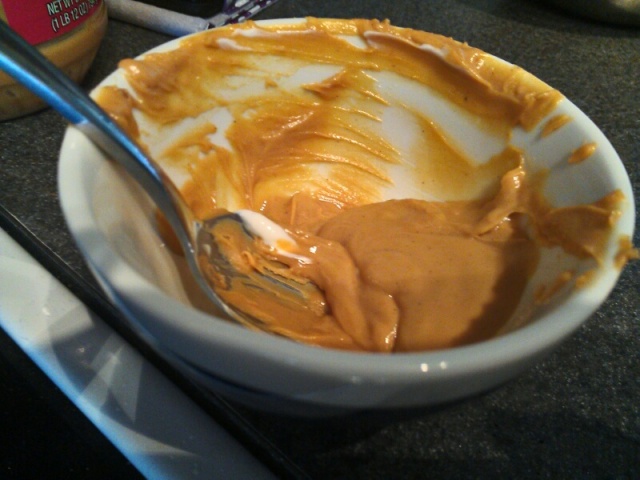
Peanut Butter (melt it a little in the microwave first, it’s much easier to stir and mix in with other ingredients)

FxCam_1360526357632

Greek yogurt

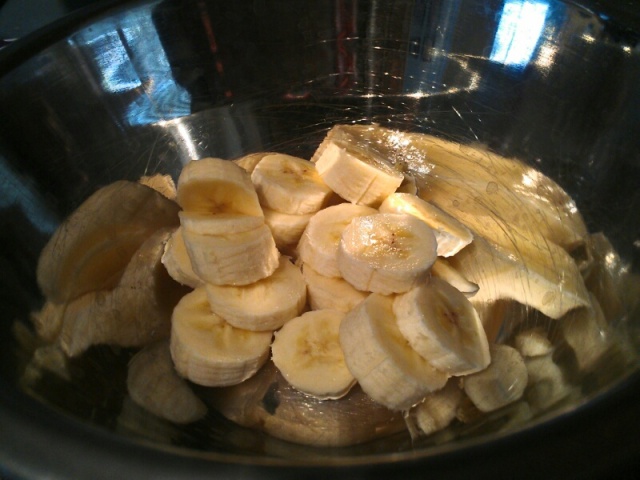
FxCam_1360526219405Bananas

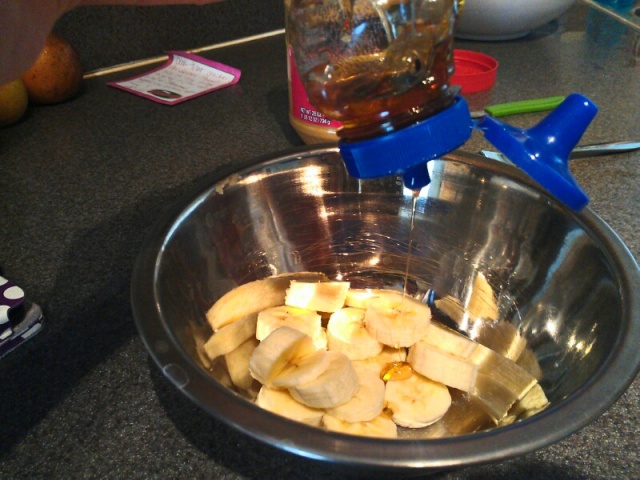
FxCam_1360526313199Honey

I mashed the bananas up and stirred everything until all ingredients were mixed well. I then spooned the mixture into the ice cube trays. They were looking a little plain so I added a blueberry on top of each ones. Blueberries are a favorite, healthy treat for my puppies.

FxCam_1360527126673

I did have to use a small knife to kind of pop them out of the ice cube trays. I really expected the pups to have to take their time and eat them a little slower than they do most things but one of them gulped hers down, the other took about 20 seconds to eat hers. I was wrong on the timing part, but they LOVED them. I didn’t really measure any of the ingredients, just added until I had a good consistency. I mix peanut butter and greek yogurt to eat with fruit all the time, so I tried to make a similar consistency as when I do that. There’s no right or wrong really, you could eat one of these yourself – it’s not “dog food” but all healthy and natural ingredients.

That was the love in our house this Valentine’s, hope you had a lovely day too!

Southern Eats

Another Monday is upon us, and it’s a very Europe-esque type here in Florida today. I love love LOVED Europe when I got to spend time there almost this time last year, but I was not too big a fan of their overcast, rainy days that are a pretty common norm.. I mean like every day. I think Mother Nature’s confused and sending some of their weather to Florida these past few days… but we’re off to work anyways!

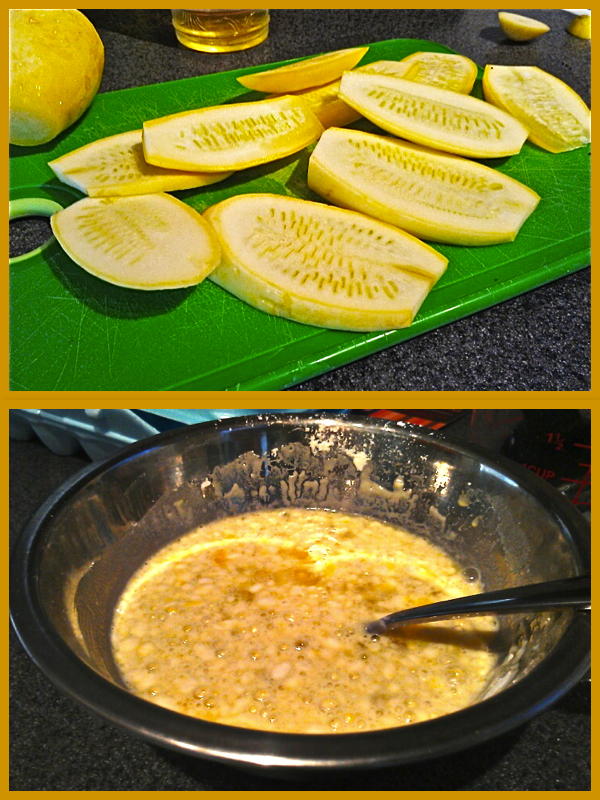
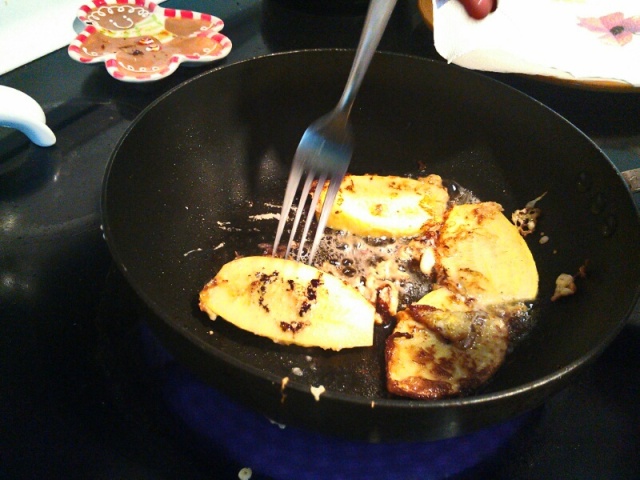
Our weekend was filled with busyness as usual. On Sundays I like to do all of the domestic type things, clean the house, finish the laundry, get dinner prepped and hopefully (if I’m ahead) get dinner prepped for some of the week nights so that it’s not such a scramble if I forget to set something out. While I was getting the veggies ready for stew, we decided to make a southern delight for a snack – fried squash!

It was our first time doing it at home and we experimented a little bit with different processes.

Fried Squash collage


We sliced up the squash into thin slices and then dipped into this mixture of flour, eggs & a pinch of salt. Next time I think 2 separate bowls: one flour, one egg. We eventually changed our process to dip in the egg mixture and then in plain flour and then throw in the pan of oil.

It might not have been the picture we were imagining when we got everything out for this, but it was pretty good! Southern comfort food is the best.

FxCam_1354470485696


What kind of snacks do you make when you have time to do more than grab a bag of chips? I would love suggestions!

Recipe Rave: Make at home fajitas!

We’re closing in on the week-end, friends!

Today I wanted to share my adventure with making fajitas AT HOME! Mexican is one of my favorite go-to type foods and one of my staples when I eat out. Last Sunday afternoon, I decided to go ahead and dive in and attempt to make one of our favorites at home to enjoy.

First I browsed Pinterest and googled fajita recipes and found 2 that I liked. I took pieces from each recipe, one from Simply Recipes viewable here and 100 Days of Real Food Blog viewable here.

I cheated a little and used Tyson frozen steak strips and chicken. We were STARVING and this was the quickest way to get things cooking. So, I thawed the meat in a bowl of water while I prepped the rest.

I prepared the marinade for the meat, taken from the Simply Recipes version.

Marinade:

  • Juice of 1 lime
  • 2 Tablespoons of olive oil
  • 2 cloves garlic, peeled, minced
  • 1/2 teaspoon ground cumin

But I added Emeril’s Essence from the 100 Days of Real Food Blog. Since I didn’t have an actual bottle of Emeril’s essence on hand, I googled it and made my own.

Emeril’s Essence Ingredients:

8 tablespoons paprika
3 tablespoons cayenne pepper
5 tablespoons freshly ground black pepper
6 tablespoons garlic powder
3 tablespoons onion powder
6 tablespoons salt
2 1/2 tablespoons dried oregano
2 1/2 tablespoons dried thyme

I pared this down a bit because I was making fajitas for 2, not an entire bottle of that stuff. I do have some extra for next time though!

So while my meat thawed a bit, I prepped this spice mix and got the marinade ingredients ready in a gallon plastic bag. I then chopped a red bell pepper (next time I would use more than 1, or add a yellow bell pepper as well) and an entire onion into strips.

I got all of the toppings ready while I let the meat marinate for added flavor. I chopped red onion and tomato, the boyfriend chopped up lettuce. We set out a jar of salsa and sour cream and of course a bowl of shredded cheese. Once we had completed all of the prep, it was time to start cooking.

First, I cooked the meat.  Heat your pan with some olive oil (we use EVOO in our house for everything we cook) and toss your meat until it browns and is nice and hot. Since mine was the precooked, frozen type – it didn’t take too long. If you’re using raw meat and fully preparing the entire meal from scratch at home, allow yourself some time to cook your meat all the way without rushing it and burning it.

After the meat was cooked, I covered it in tin foil to keep it warm. Next was time to cook the peppers and onions. I cleaned my pan first because there was alot of that black gunk in the bottom, but if you keep a better eye on your meat than I did, you should be able to cook your veggies without rinsing your pan and transfer some of that flavor over to the veggies too.

You’d never know this was frozen meat, once you add your spices.

All the fixins

Yummy make at home fajitas!

Let’s eat!

We sat down for a belly-stretching mouth watering meal. Next time I’ll definitely double up and make extra so that we have leftovers because this was DELISH.

Happy Friday!

Recipe Rave: Party in Your Mouth Enchiladas

Everyone has a certain food genre that they gravitate towards and are always in the mood for. Me, I could pretty much eat mexican food every day.

A few years ago, my roommate was taking cooking classes here and there through the Publix Apron’s Cooking School. She learned alot of great recipes while attending these classes, but there was one recipe in particular that blew both of our socks off  -enchiladas. These enchiladas are a little different then authentic enchiladas from a mexican restaurant, but they are super easy to make and so amazingly phenomenal that after you’ve tried them, your mouth will water at the mere mention of them. So I wanted to share:

Super Easy Party in Your Mouth Enchiladas 

You need just a few ingredients: burrito size tortillas, shredded cheese (I prefer the fiesta blend), salsa verde (the green salsa), a package of stew meat, cumin & some oil to cook the meat.

Ingredients

I am striving to make flavorful meals without breaking the bank in order to feed our family of 2, but one of us is a bottomless pit man. I think most ladies can agree that half of their motivation for learning to cook and live a bit more frugally stems somewhere from living with a man who can eat you out of house and home… 😛 I prefer to buy my stew meat at Winn-Dixie because for whatever reason, it’s so much cheaper there. I usually buy everything at Walmart because it’s SO much cheaper in comparison, but when it comes to stew meat, Walmart is usually about double the price because I can pick up a pack at Winn-Dixie for between $2.50 and $3.00. Go figure. To stretch that $3.00 even further, when I open my pack of stew meat, I get out a cutting board and a knife and slice the meat even more. Rather than cook large chunks, I cook more smaller and thinner pieces that helps it cook faster and gives you more meet to spread a little more evenly throughout the enchiladas.

After you’ve sliced up your meat, if you choose to, toss the meat in cumin. Usually I use a light hand when adding cumin to anything because it’s a pretty heavy spice but for this recipe, I think it’s a good idea to use a fair amount.

I toss 10-15 pieces in the cumin at a time so that I don’t overload my pan on the stove.

Add those pieces to a heated pan with oil (I prefer to use EVOO) on your stove top and brown the meat. While one batch browns, I toss the next several pieces with a little more cumin.

Once you’ve browned all your meat,  take out the tortillas. You’ll want to portion your meat across however many rolled up tortillas will fit in the baking dish that you have on hand. Mine is a 9×12 dish and fits roughly 6 rolled up tortillas but if you rolled them up a little tighter, you may be able to squeeze an extra one or two.

Add the meat and shredded cheese and roll up the tortillas.

After you’ve rolled up all of your tortillas and have them sitting snugly in your baking pan, add the salsa verde. I have seen salsa verde in a couple different sizes but I use a 16 oz jar. Dump the whole jar over top of your rolled up tortillas.

salsa verde covered tortilla rolls

Next, add shredded cheese over top of the salsa verde. How much is up to you and how cheesy you like your enchiladas. Me, I probably use about a cup of shredded cheese.

Cheesy goodness!

After you’ve added the cheese, you’re in the home stretch! Set your oven to 400 degrees and set it for about 15 minutes.

Once your oven is beeping telling you that 15 minutes is up, pull out your pan and let those things cool no matter how enticing they are. Once you’ve let your pan sit for about 5-7 minutes, DIG IN to the goodness and I promise this will become a staple on your menu list!

Finished party in your mouth enchiladas!