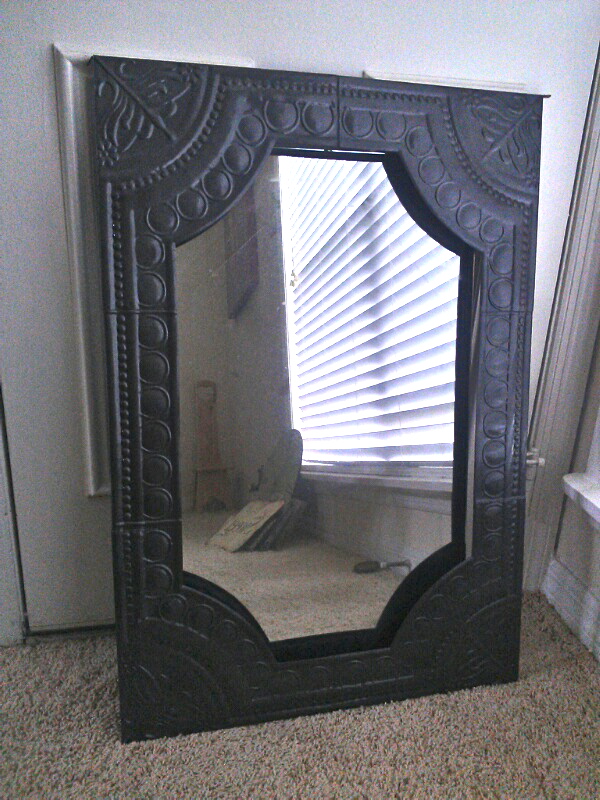
About 3 1/2 years ago, my Nana gave me a mirror that she had at her house that she wasn’t using. Free is fabulous in my mind, so of course I happily accepted it. I can’t remember what the original color of the frame was, but I spray painted it a dark brown and it lived in my seafoam colored bedroom for a year. Fast forward a year and I moved into my own place, without roommates. The dark brown morphed into a slate gray to go with a slighty darker turquoise colored apartment. (I do love all variations of turquoise.. especially on the walls!) Here we are 2 and a half years later, and we are living in a new house. We have been here about 5 months now and I just don’t have a place for this mirror. It’s been sitting in a closet collecting dust. I had a vision for getting a piece of plywood and cutting it into a heart and covering it with chalkboard paint that I could write on whenever the mood struck me. As I was contemplating how I was going to free hand a heart design on plywood, I happened to look over and see this mirror sitting against the wall.
I have this new obsession with gold spray paint. I love me some spray paint [in general] but gold.. man. Gold is special. I used to only wear gold and I have phased it out over the last several years and pretty much everything I own and even decorate with is some kind of silver. I’m slowly starting to work gold-ish pieces back into my life though, my rose gold watch for my birthday was the first beautiful piece.
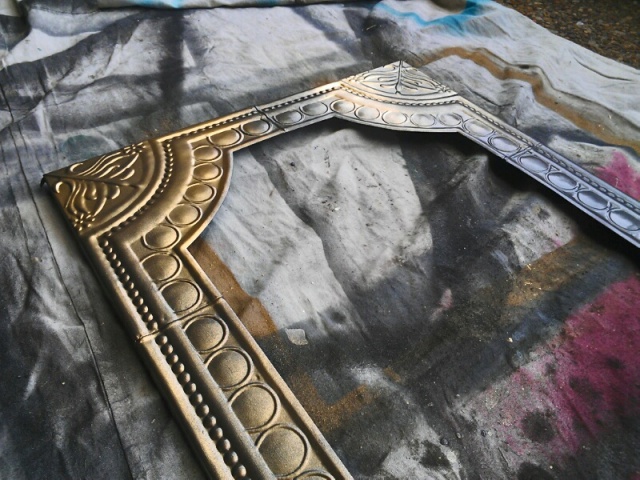
SO. I grabbed the mirror and took it all apart. I added some glitz to this frame with gold spray paint. The other amazing thing about gold spray paint is that it covers pretty much anything with only a coat or two, so one can goes a long way.
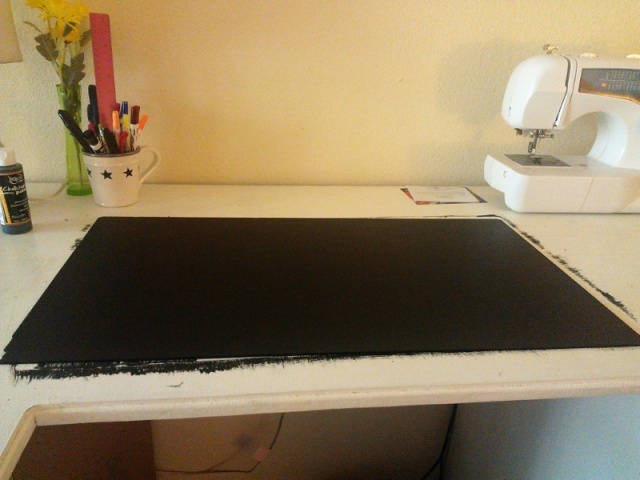
Next step: I took the mirror that was inside this frame and painted it with chalkboard paint. I ran a search on different kinds of chalkboard paint and basically it seems like chalkboard spray paint is easier and quicker to apply, but that it chips faster than the paint-on kind. I already had some of the liquid kind in the bottle that you paint on with a paint brush so I was going to give it a go. I figured I was in for 4-5 coats, but after 2 I had a pretty thick layer. I did do one extra just to be sure though.
I CAREFULLY put the mirror back into the frame so as not to chip any of the chalkboard surface, but I really didn’t have any issues.. I think maybe the paint on kind is a bit more durable if any of you are considering chalkboard painting anything that you have.
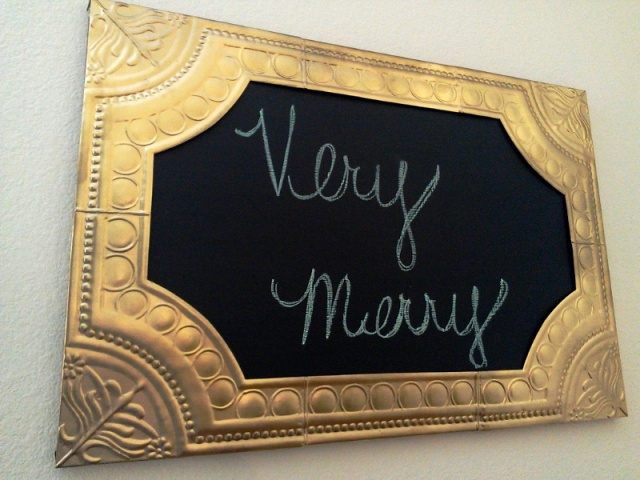
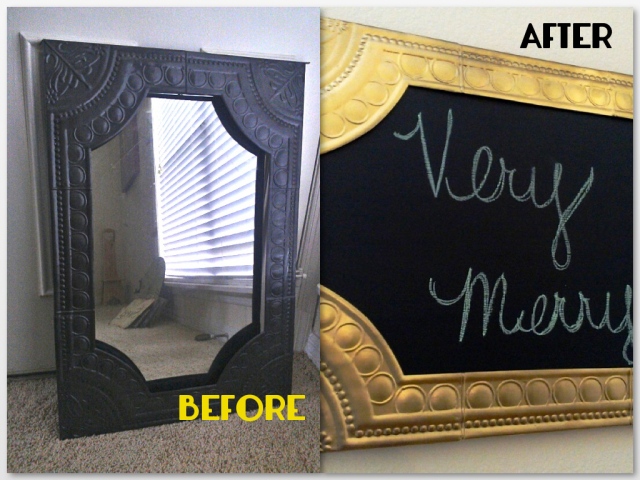
Turn a plain jane mirror into something really special with a little chalkboard paint and some gold spray paint. Instant glamour!
Since it is the Christmas season, my glitzy chalkboard says “Very Merry” & can be seen as soon as you walk through our kitchen. I love it and am seriously thinking about chalkboarding lots of surfaces… If you’ve been contemplating doing so, GO FOR IT!!


