It’s been a few days since I’ve been able to work time into my schedule for blogging.. 😦 I will say that I have been doing well working towards other goals, just need to work a little harder on keeping a balance amongst the many things. That being said, today I have a project to share that I was so excited about doing a couple of months ago – this was one of my Christmas presents this year.
I’ve mentioned it before, but I am completely obsessed and inspired by A Beautiful Mess blog. I found a suitcase makeover project in their archives that I completely fell in love with and decided I wanted to replicate as a Christmas gift for my sister. She loves to travel and has her heart set on studying abroad in Germany in the next year or so and is a little more of a 60s child anyway. The idea behind recovering a suitcase is to find a hard side suitcase (more of a vintage look) and you can find them in thrift shops if you pay attention or do what I did, and search on eBay. The difficult part of searching online though, is that you want to make sure your suitcase is hard side and that it has stitched seams so that you can tuck your fabric into it.
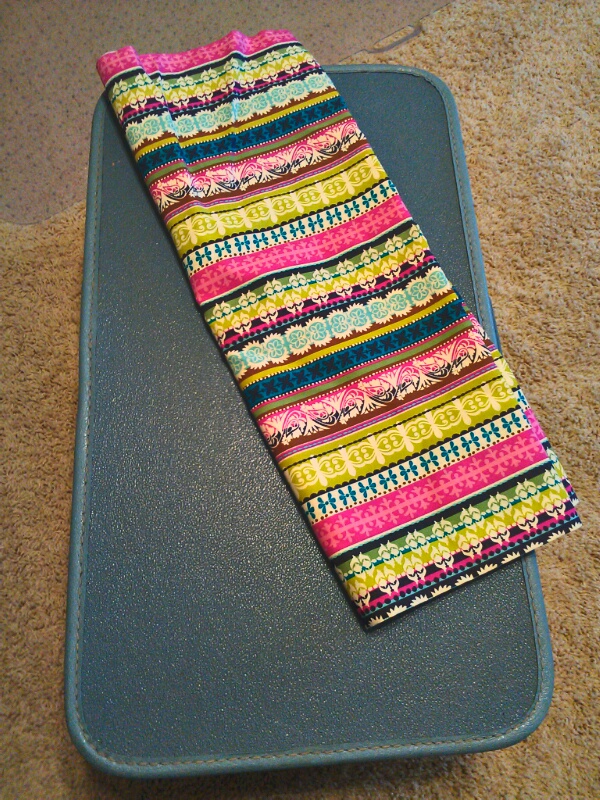
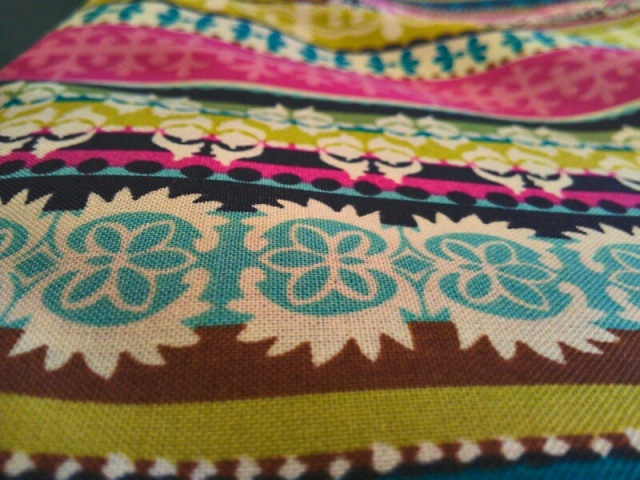
After I found a large blue suitcase and ordered it off of eBay, I went to my favorite Hobby Lobby and browsed fabrics. It took me a while but I did finally find a bright, whimsical pattern that was on sale (score!) and that looked great with the blue suitcase that I had.
I bought a lot more fabric than I needed to because I was almost positive I was going to mess it up and have to start over and didn’t want to risk not being able to find the fabric again in time for Christmas. So, I think I ordered about 3 yards – but definitely have a lot left over. You want to have enough to lay your suitcase down and trace around it so that you have an inch or 2 (I would recommend or 2) hanging over past the area you want to cover, just so you don’t end up falling short and have to start over.
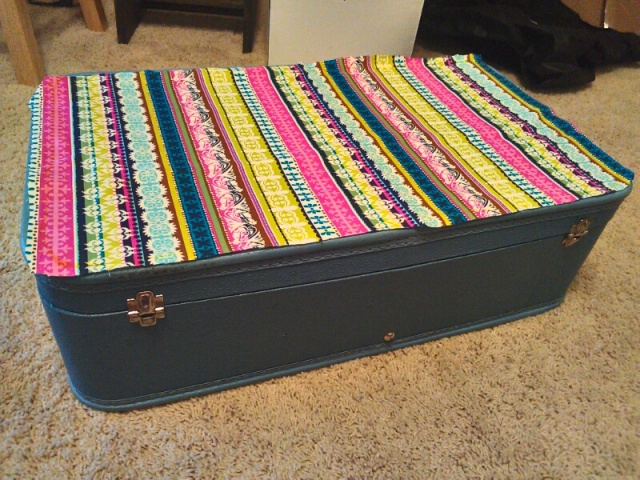 I didn’t quite have 2 extra inches past the area I wanted to cover, but I would recommend leaving a little more than what you see here. Lay your fabric on top of your suitcase to make sure that it does, indeed cover the area you want to cover.
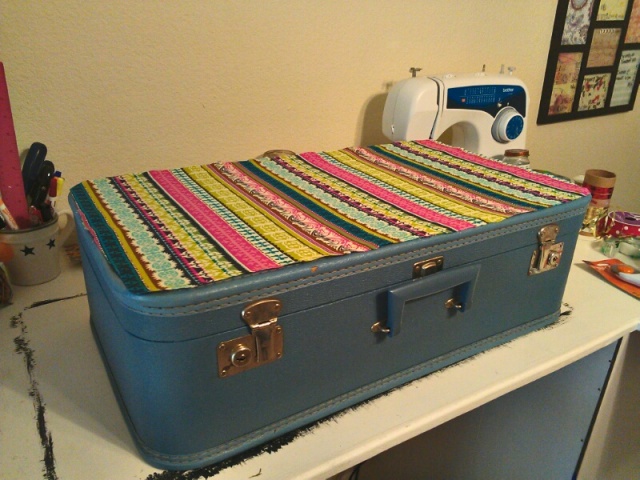 I have this awesome craft table (that I recently added to our office) where I can do projects and spread out someplace other than the floor. I moved the suitcase to the craft table and began to mod podge (gloss) the fabric onto the suitcase.
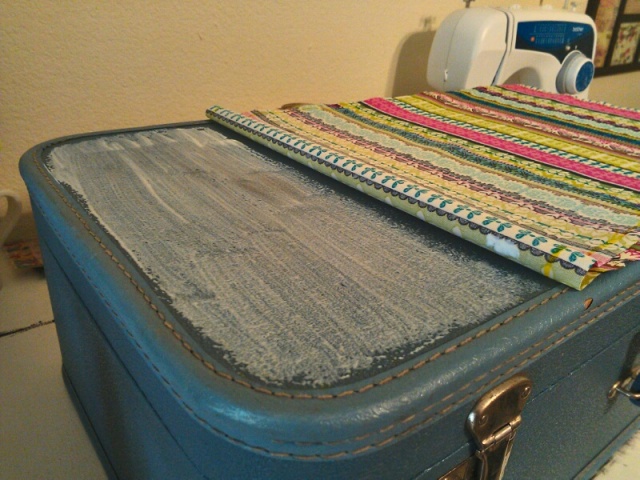 You’ll want to do this in sections because the mod podge does dry quickly. You’ll go back afterward and pull up corners and add more and retouch places so don’t stress too too much about getting it perfect the first time. I went back and touched up most of the edges.
After your fabric is securely adhered to the suitcase (half an hour – an hour or so), you’ll want to get rid of the loose edges and tuck them snug into the seams of the suitcase. You can use a butter knife or get rotary cutter. A rotary cutter just may be my new favorite tool, you just roll that baby down along the edges of the seams and it trims/tucks your fabric as you go. Work in small sections though so you get as straight of lines as you can. While this is an efficient means for this project, definitely be careful with this tool – the blade is pretty sharp and you can get to rolling pretty quickly. It wouldn’t be difficult to get your fingers. If you do fray your fabric on the ends a bit (I did a bit) I went back with a smaller brush and tucked and mod podged over those ends so that everything was tucked or snipped and nothing loose was hanging off.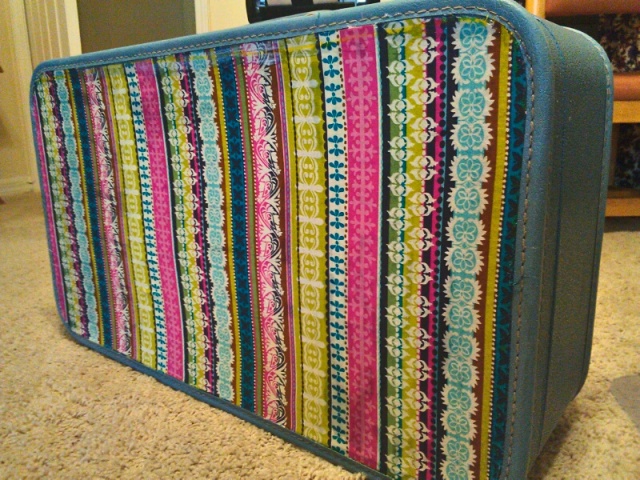
If you really look at this photo, you can see that the edges are darker where I went OVER the fabric with mod podge. It does dry clear though, so give it some time.
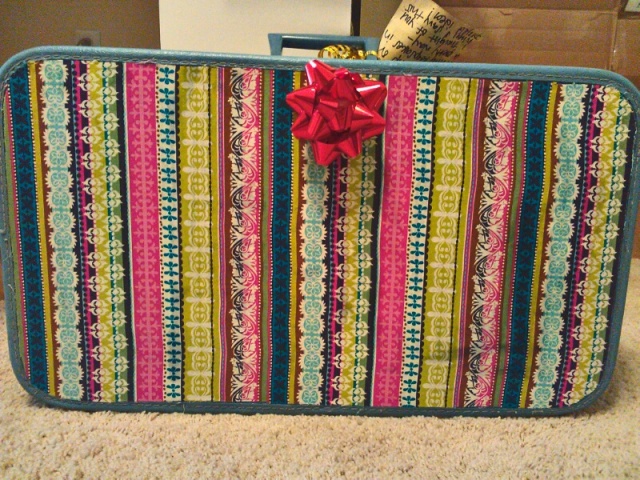 This suitcase was a bit larger than some of the ones that you can find and would definitely be reasonable to take for a week-long trip. Everyone has the rolling suitcases these days, but this is a fun & unique alternative for a weekend or few days trip and you can definitely spot your suitcase amongst all the black ones on the conveyer belt if you do check it while flying.
Overall, maybe 2-3 hours of work (including shopping and dry time) to create an awesomely unique gift or new twist on old luggage that may be sitting in the back of your closet. You could also use fabric that matches your home decor and leave a couple of suitcases stacked on top of each other in a corner and BONUS: store knick knacks, out of season clothes, or linens.
Happy crafting!
